


Part 1: Create a simple NFT smart contract
Note: If you don't want to touch the Solidity stuff, feel free to use the deployed smart contract sepolia.etherscan.io/address/0xe09439e6b9e4.. and go to part 2 for the Wagmi
You can use the Openzeppelin wizard to select which function your NFT will have:
https://docs.openzeppelin.com/contracts/4.x/wizard

Just choose the "Mintable" and "Auto Increment Ids" options so we can mint NFT with the safeMint function.
Then click on Open in Remix to edit and deploy this contract
Let's change some code in Remix to fix our purpose. We do 2 things:
Remove the
Ownablecontract andonlyOwnermodifier because we want everyone can mint, not just contract ownerRemove the param
address toinsafeMintfunction, instead we will make it mint to the user's wallet
The code after change will be like this:
// SPDX-License-Identifier: MIT
pragma solidity ^0.8.9;

import "@openzeppelin/contracts@4.9.3/token/ERC721/ERC721.sol";
import "@openzeppelin/contracts@4.9.3/utils/Counters.sol";

contract SimpleNFT is ERC721 {
    using Counters for Counters.Counter;

    Counters.Counter private _tokenIdCounter;

    constructor() ERC721("Simple NFT", "SimFT") {}

    function safeMint() public { //Remove the onlyOwner modifier so everyone can call this function
        address to = msg.sender; // Remove the `address to` argument and change it to sender address
        uint256 tokenId = _tokenIdCounter.current();
        _tokenIdCounter.increment();
        _safeMint(to, tokenId);
    }
}
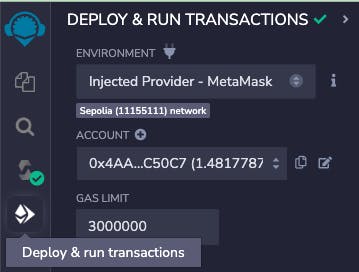
In Remix, choose the tab "Deploy & run transactions", and choose "Injected Provider - Metamask". And ensure you select an account that is used to deploy in your Metamask and the test network (let's choose Sepolia for testing)
Then deploy and we will have the smart contract on Sepolia like this one: https://sepolia.etherscan.io/address/0xe09439e6b9e4cfc45ec2a25ea05876ae981adb39
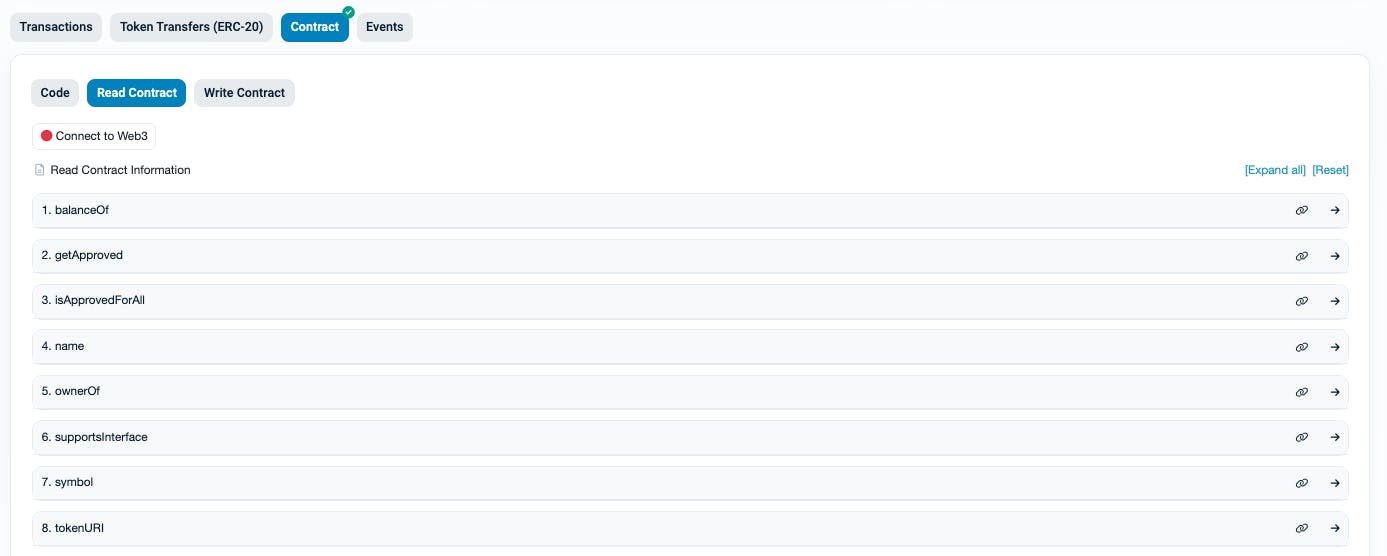
Bonus: If you want see and call functions in smart contract in Etherscan, you can verify it via the Contract verification extension in Remix, just need to input the Contract address and Contract name:

After that you can read and write contract functions directly in Etherscan like this: https://sepolia.etherscan.io/address/0xe09439e6b9e4cfc45ec2a25ea05876ae981adb39#readContract
Part 2: Use Wagmi to mint NFT from React
Use this document to quickly getting start: https://wagmi.sh/react/getting-started#quick-setup
Just run this command
npm init wagmi
You can choose these options:
✔ What is your project named? wagmi-mint-nft
✔ What framework would you like to use? › Next.js
✔ What template would you like to use? › Default
✔ What providers would you like to use? › public
Because we use Sepolia, change the configureChains in src/wagmi.ts to this:
const { chains, provider, webSocketProvider } = configureChains(
  [sepolia],
  [
    publicProvider(),
  ],
)
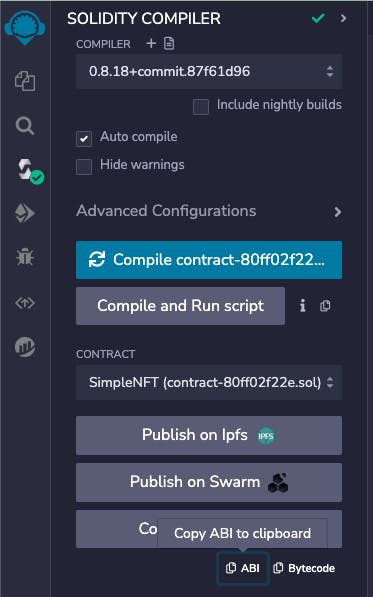
Copy the ABI in the Compiler in Remix
Or you can use this one (I've just keep the minimum ABI for our mint function)
[
    {
        "inputs": [],
        "name": "safeMint",
        "outputs": [],
        "stateMutability": "nonpayable",
        "type": "function"
    },
]
Change the src/pages/index.tsx to this:
import { useContractWrite, usePrepareContractWrite } from 'wagmi'

function Page() {
  const { config, error} = usePrepareContractWrite({
    address: '0xE09439e6b9E4CfC45ec2A25Ea05876Ae981adb39', // NFT contract
    abi: [
      {
        "inputs": [],
        "name": "safeMint",
        "outputs": [],
        "stateMutability": "nonpayable",
        "type": "function"
      },
    ], // The minimal NFT contract abi for safeMint function
    functionName: 'safeMint', // The function name to call
  })
  const {write} = useContractWrite(config);

  return (
    <>
      <h1> Mint NFT </h1>
      <button disabled={!write} onClick={() => write?.()}> Mint</button>
      {error && (<p>{error.message}</p>)}
    </>
  )
}

export default Page
We use 2 Wagmi hooks here:
usePrepareContractWrite: To create theconfigwhich will use for things like estimating gas fees, and checking if the function call has an error or not. This would help notify users earlier before they even actually call the contract.useContractWrite: To create thewritefunction fromconfig. The actual contract call happens when we execute thewrite()function
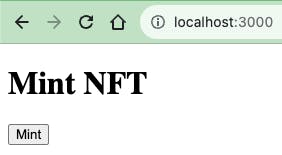
Run npm run dev on the root of the project and we will see this UI:
Click mint and users will have their NFTs, for example this: https://sepolia.etherscan.io/tx/0xdcd65fa02f531897cedecf357a38e337e7aac758ef6550b384dd0bf463d6debd